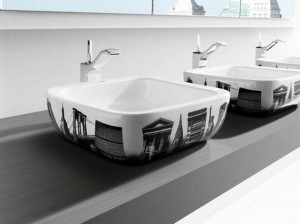
Is your bathroom in dire need of a face lift? An easy way to change the overall appearance of your bathroom is to change your bathroom sink fixture. Whether you want a sleek stainless steel sink, or an art deco glass bowl, the choices are endless. Here are some necessary steps you need to look over in order to appropriately install your sink.
The 3 major steps for replacing your bathroom sink and fixture is the installation of the faucets, installing the spout and handles, then positioning the sink and attaching the water line.
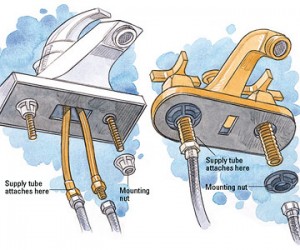
– Step 1: For the common 2 piece faucet, you need to run a flexible water supply line from your house to the base of each faucet. Then connect another line from each of the valves to the mixer. Cold water will go into the cold valve. Once the cold valve is open, water will then flow into the mixer. Water will mix with any water from the hot temperature side and then come out of the spigot. Remove the handles from the valves, and attach the faucets to the sink. Remove the top bezel and install the valve from the underside of the sink. Screw the bezel back onto the valve. Then, put the handle back on and repeat the same steps for the other sides.
– Step 2: For the installation of the central spout, remove the mixer, rubber washer, and attaching nut. You will need to use plumber’s putty to create a good seal. Start by rolling the putty into a snake and wrap it around the bottom of the spout. Put the spout through the sink, then attach the washer and nut. Lastly, reconnect the rest of the fitting and you’re done with this step.
– Step 3: You’re almost there! You just have one last step and then your hard work is done! Line up the front lip of the sink and place it into the countertop gently. Next, take a putty knife and scrap any leftover plumber’s putty that you applied earlier. After you attach the water line, use beaded silicone to make a good seal.


Leave A Comment